Worm Towers Feeding Veggie Gardens
To grow a long-term productive and abundant veggie garden you need to make sure your soil is rich and alive and continually fed and replenished. This supports plant growth and allows for repeated cropping within a healthy ecosystem. One way to do this is to encourage more worms to be part of that system. Charles Darwin said: “It may be doubted whether there are many other animals which have played so important a part in the history of the world, as have these lowly organised creatures.”
Worms break down organic matter (dead plants, fallen leaves, fungi, bacteria, and even dead animals) and recycle it within the soil, creating nutrient-rich fertiliser. According to the Scottish Soil Association, their casts (or poo!) can contain 5 times more nitrogen, 7 times more phosphorus and 1000 times more beneficial bacteria than the original soil you introduce them to.
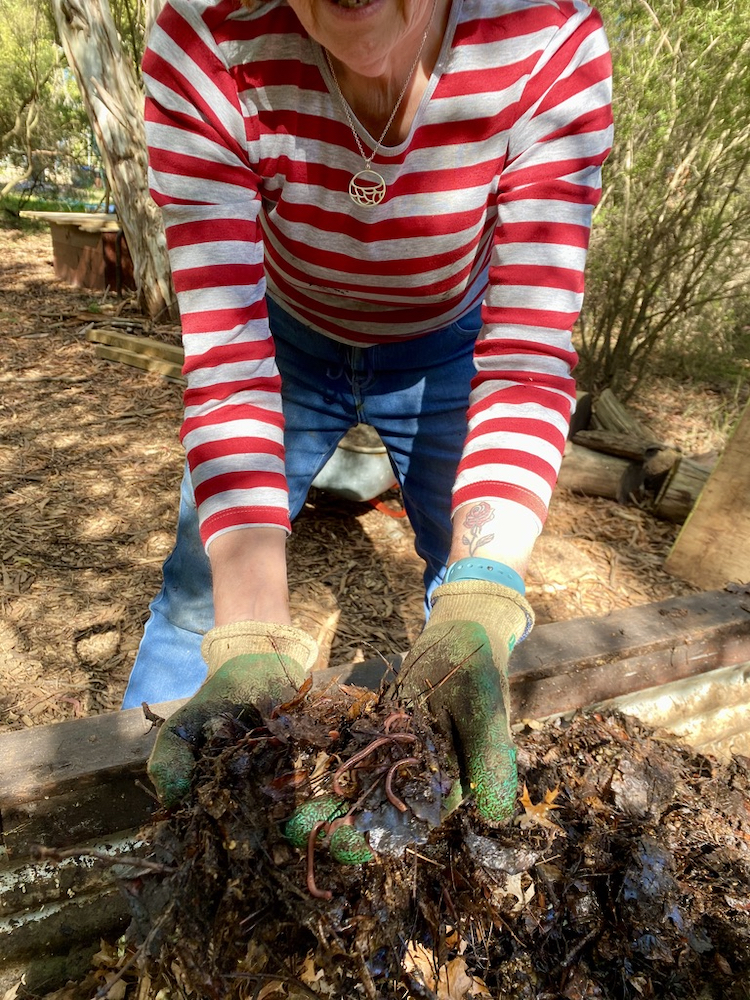
Worms in our Compost Lab
As they burrow they also loosen and oxygenate the soil, opening it up to allow for water to be drained away from the surface and stored in the soil. They can actually increase water absorption by up to 90% and, while they’re at it, they can even break down environmental pollutants.
At Blackheath Community Farm’s Compost Lab we’ve been creating large worm farms but we’ve also had a great deal of success adding Worm Towers into our garden beds.
‘Professor’ Lyndall Crompton, who has established and runs the ‘Lab’, gives a rundown below of how she built and maintains the Worm Towers we’re now using.
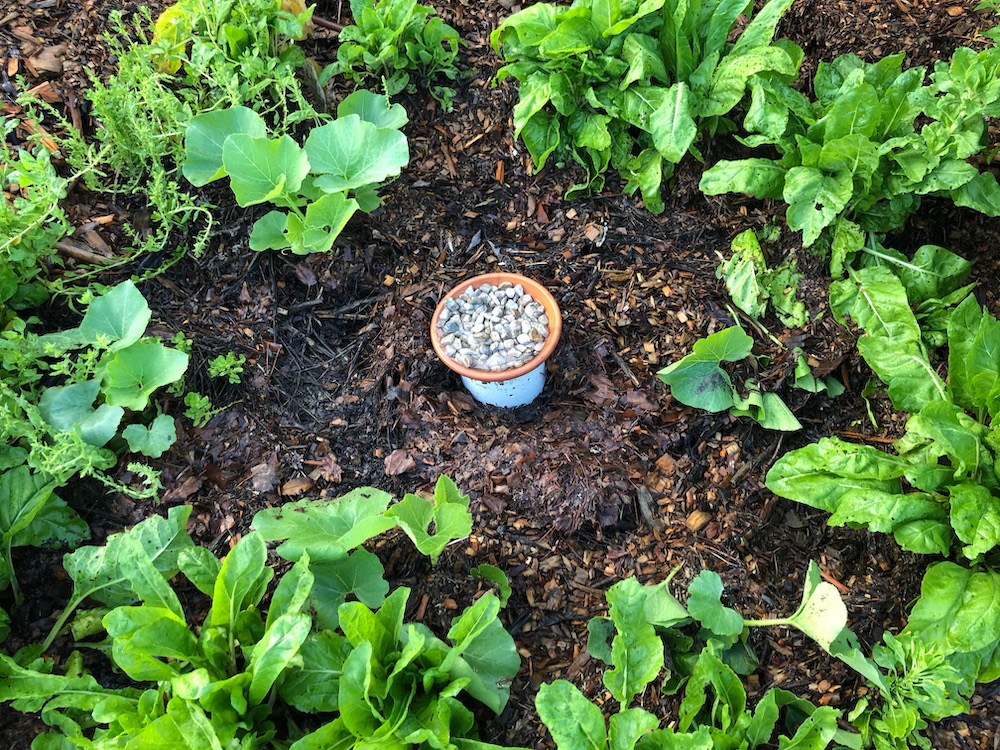
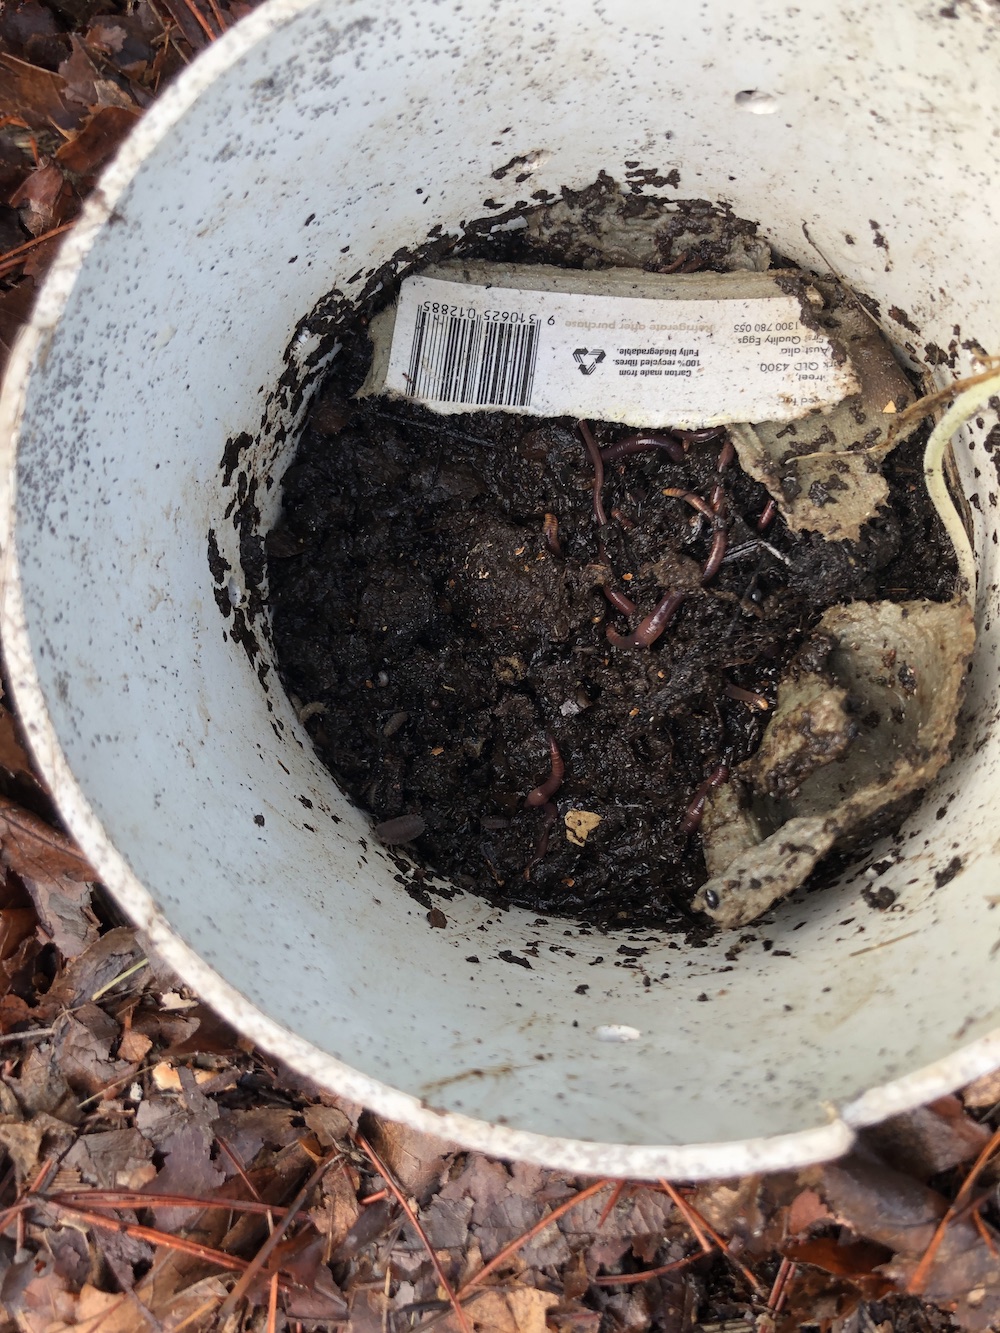
Worm Tower system in situ (e.g. in a veggie garden)
We have established several worm towers at the Blackheath community farm that are located in our vegetable gardens inside the large enclosure.
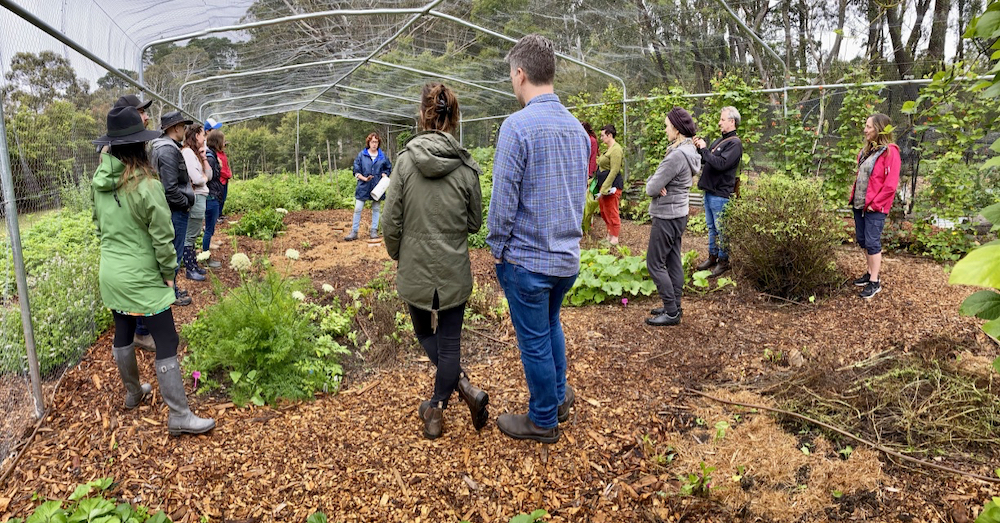
Lyndall explaining the worm tower during the 2020 Edible Garden Trail (which funded our Compost Lab)
The worm tower is made from a piece of PVC pipe that has no top or bottom and has holes drilled at various places around the circumference of the pipe. The pipe is buried into the garden leaving about 10 cm above ground. The worm tower has a lid that will stop rain and other animals getting into the tower, therefore protecting the worms inside. The lids we are using are pot plant saucers that are filled with pebbles. Water will collect in the saucer and the pebbles will provide landing spots for bees and other pollinators to visit and have a drink.
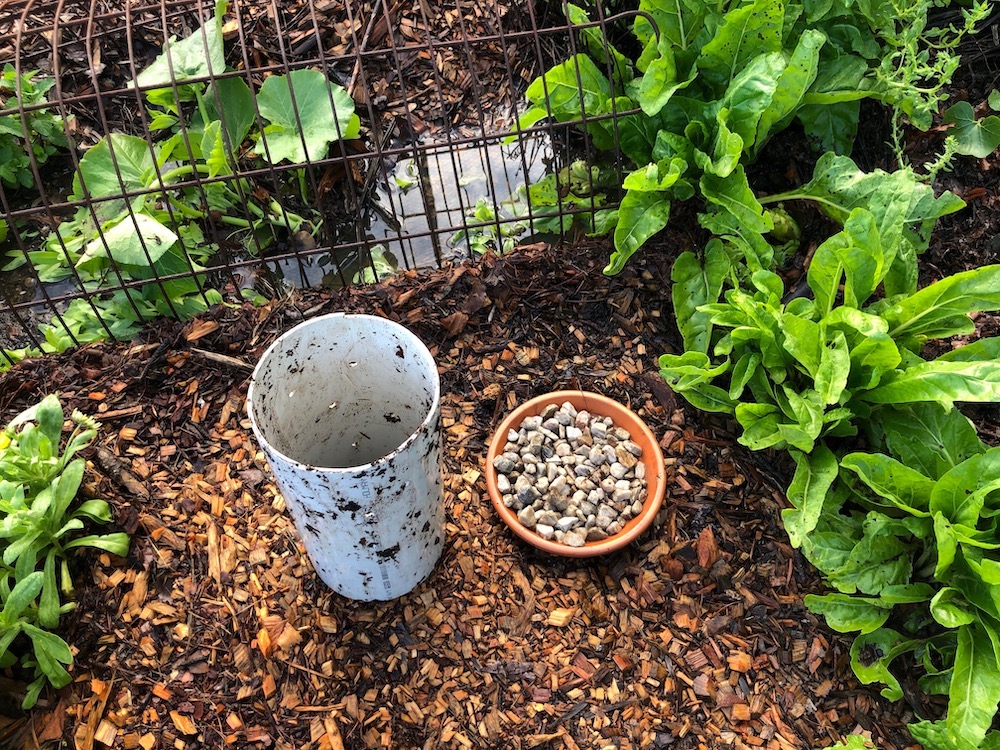
The worm tower and lid (with pebbles) are ready to be placed in the veggie garden
The tower can be made of other things such as a nappy bucket with a lid or a plastic pot with the bottom cut out of the container. The lid can also be anything, provided it stops water and other animals getting into the worm tower. The container can be as big or as little as you like, depending on the size of your garden beds.
The idea is that the worms will eat the food waste, leaves and weeds fed to them from the top of the pipe and create castings within the pipe. They will also crawl in and out of the pipe through the holes drilled in the side, spreading castings throughout the garden bed. The castings can also be harvested from the worm tower and spread on other parts of the garden.
If you add compost worms they will tend to stay in the pipe, but other worms will migrate.

The finished worm tower in situ before a layer of straw or mulch is placed around it (this layer helps to insulate the worm tower from heat and cold).
Setting up a worm tower
- Prepare the tower structure and lid, as discussed above.
- After burying the worm tower in a position in the garden, place a layer of compost or wet ripped up cardboard or coconut fibre (previously soaked in water overnight) or a mixture of any of these materials in the base of the tower approximately 5 to 10 cm deep to create a bed for the worms.
- Add a small amount of compost worms (the amount you add should be adjusted to the size of the worm tower).
- Add a layer of damp cardboard on top of the worms when you first put them into the tower, place the lid on top of the tower and leave the worms for about a week to settle in.
- The whole worm tower can be covered in a light layer of mulch or leaves, which will provide extra insulation in cold and hot weather as well as making the structure blend into the garden environment.
Maintaining a worm tower
Once the worms have settled into their new environment, feed them regularly with small amounts of a variety of fresh food scraps, including small amounts of coffee grinds and ground up eggshells if you have them.
When feeding the worms:
- Remove the layer of cardboard from the top of the worm tower (note – the worms may have eaten the cardboard, which is perfectly fine, so you might not need to do this).
- Add a layer of fresh food scraps to a depth of about 5 cm.
- Throw in a few shredded dried leaves (leaves from deciduous trees are best, such as maples, oak trees etc) – worms love munching through carbon matter (brown material) as well as the nitrogen rich veggie scraps (green material).
- Replace the cardboard on top of the veggie scraps and leaves, or add new cardboard if needed.
Other things to keep in mind:
- Worm food is best cut into very small pieces (worms only have little mouths).
- Don’t overfeed the worms as the environment in the worm tower can become anaerobic and smelly.
- Worms don’t really like citrus and chilli so it’s best to avoid putting these into the worm tower.
- Worms dislike a wet environment (they can drown) but they also dislike a dry environment. The material in the worm tower should be damp but not wet. By adding fresh veggie scraps and making sure cardboard added is damp the environment should be great for your worms. If it’s a bit dry, add some water to the veggie scraps before feeding them to the worms.
The worms in the worm tower need a feed, as they have consumed all the veggie scraps and leaves and also most of the cardboard!